Keep your database organized. Filtering will provide a more versatile way to create contact groups for any purpose and using an organized system makes engagement with your contacts more effective.
- Create a New Filter
- Edit a Filter
- Viewing Contacts in each Filter
Creating a New Filter
Click on Contacts in the iA menu
Click Filters

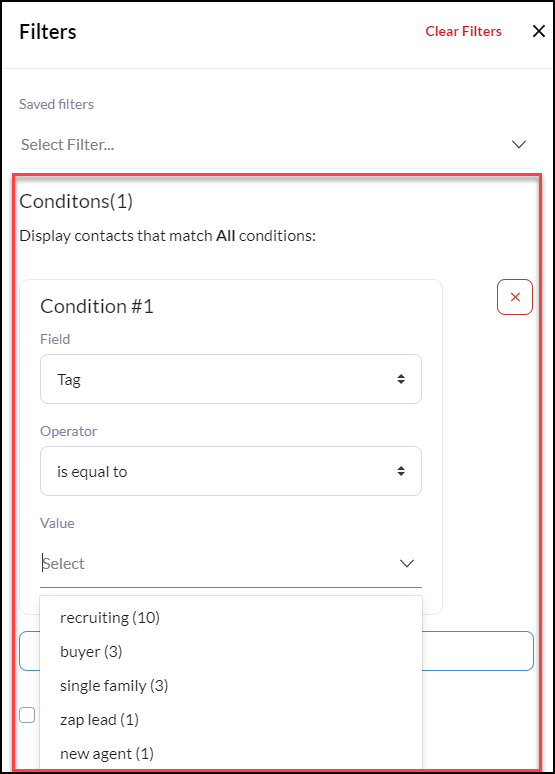
Next, click +Condition and decide the desired fields you would like your filter values to be based upon. Please note, the fields must already contain values to be included in the results.
*Use as many conditions as you need to narrow down to your desired contact group.
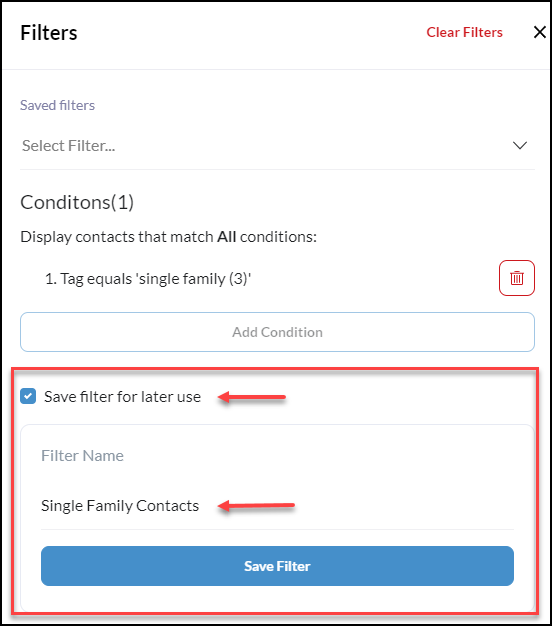
Once all of your desired conditions are created, click 'Save filter for later use' and give your created filter(s) a specific name so you can easily select it in your workspace later!
Have a field you would like to filter by that is not already available in the CRM? No problem! Create MORE Custom Fields to fit your business needs! Learn How Click 👉Adding Custom Fields
Need to Edit a Filter?
Click Filter from the Contact list
Select the filter you wish to edit from the 'Saved Filter' dropdown.
Add or remove conditions as needed, then scroll to click the Update Filter checkbox once completed.
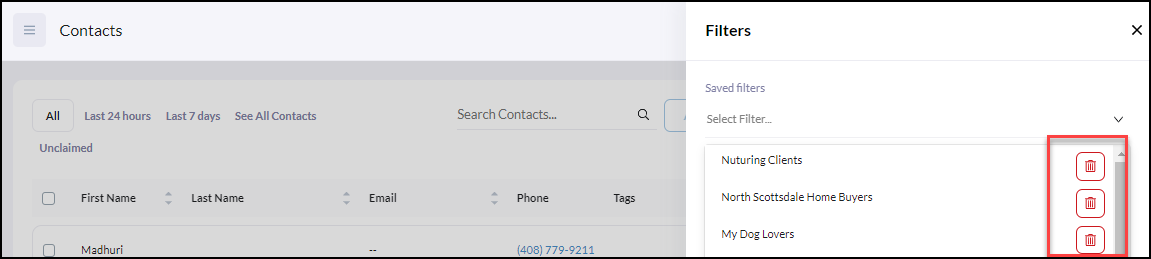
Need to Delete a Filter?
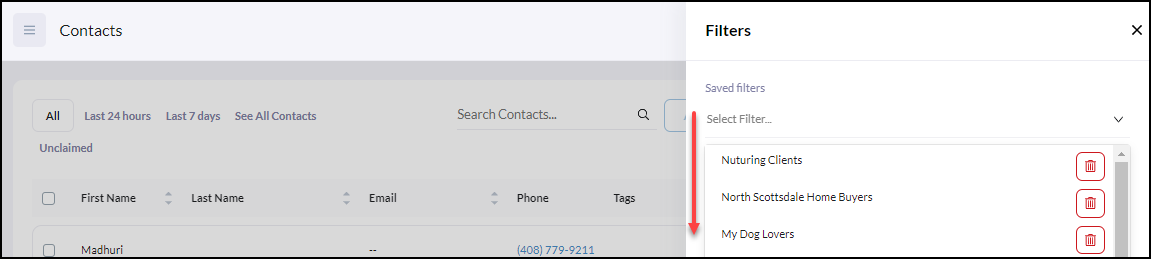
To Delete a filter, simply click on the Saved Filters dropdown and click on the red x of the filters you wish to remove.
Viewing Contacts in your Filter
Once you have created your filter for your contact group click Apply Filters which will update your contact list view of just the contacts within the filter.
Where To Use Filters?
Use your filtered contact groups when sending any Broadcasts, Campaigns, or Neighborhood Alerts!
Pro Tip* Periodically review and refresh your filtered group of contacts and make sure you are still meeting your desired criteria.