Using a listing integration with your MLS database, create listing alerts with ease!
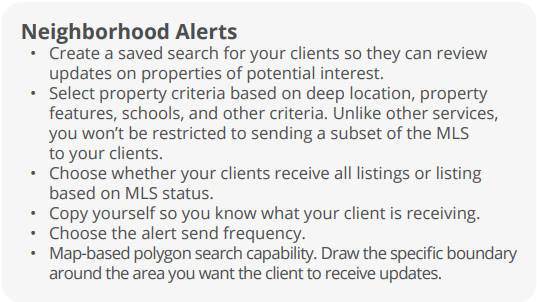
Create a Neighborhood Alert in Marketing
Create a Neighborhood Alert from a Contact
Create a Neighborhood Alert in Marketing
To create a neighborhood alert for a subset of contacts or a group of contacts use the following instructions below.
Click Marketing from the left-hand menu
Click Neighborhood Alerts
Click +Create Neighborhood Alert
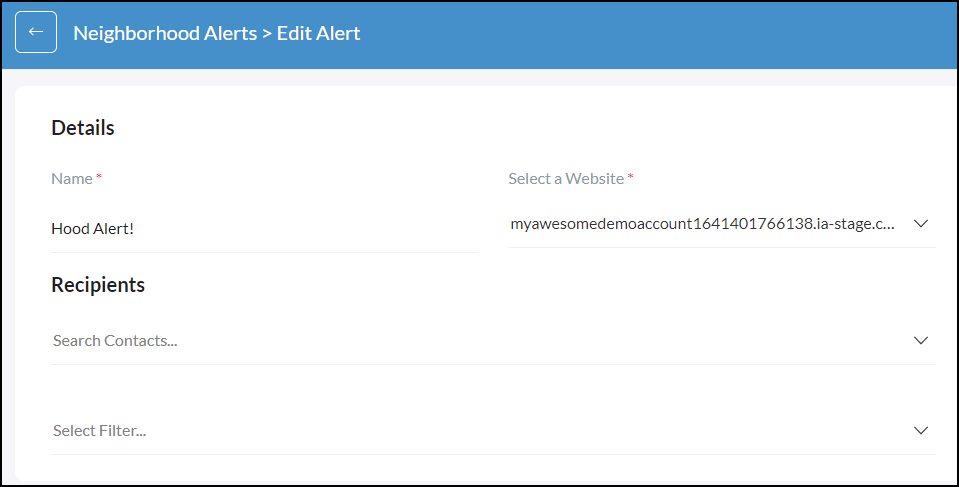
Use the Details section to create a Name for your Neighborhood Alert to be easily identified in the list of Neighborhood Alerts you create.
Next, go to the Recipients section.
For Recipients, select Contact(s) or Select a Filter for a contact group.
To learn how to create a filter CLICK HERE
Select your Neighborhood Alert Frequency which is a great way to increase engagement!
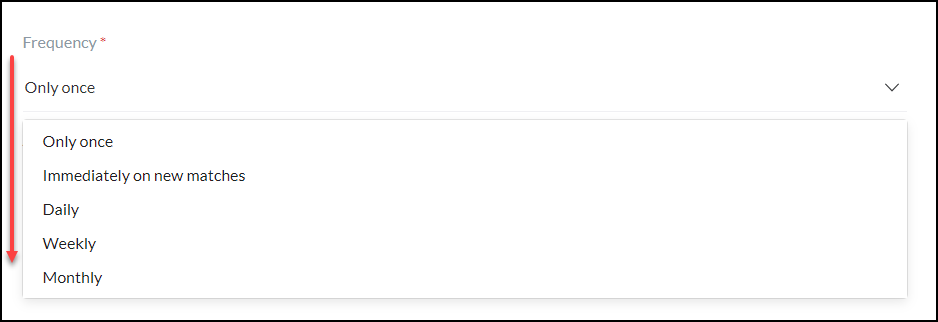
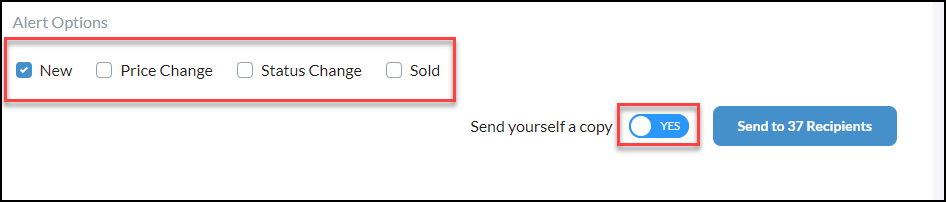
Neighborhood Alert Options
Next, scroll down to Filters and the Map to begin crafting your Neighborhood Alert! There is an array of filters available that are mapped from your MLS.
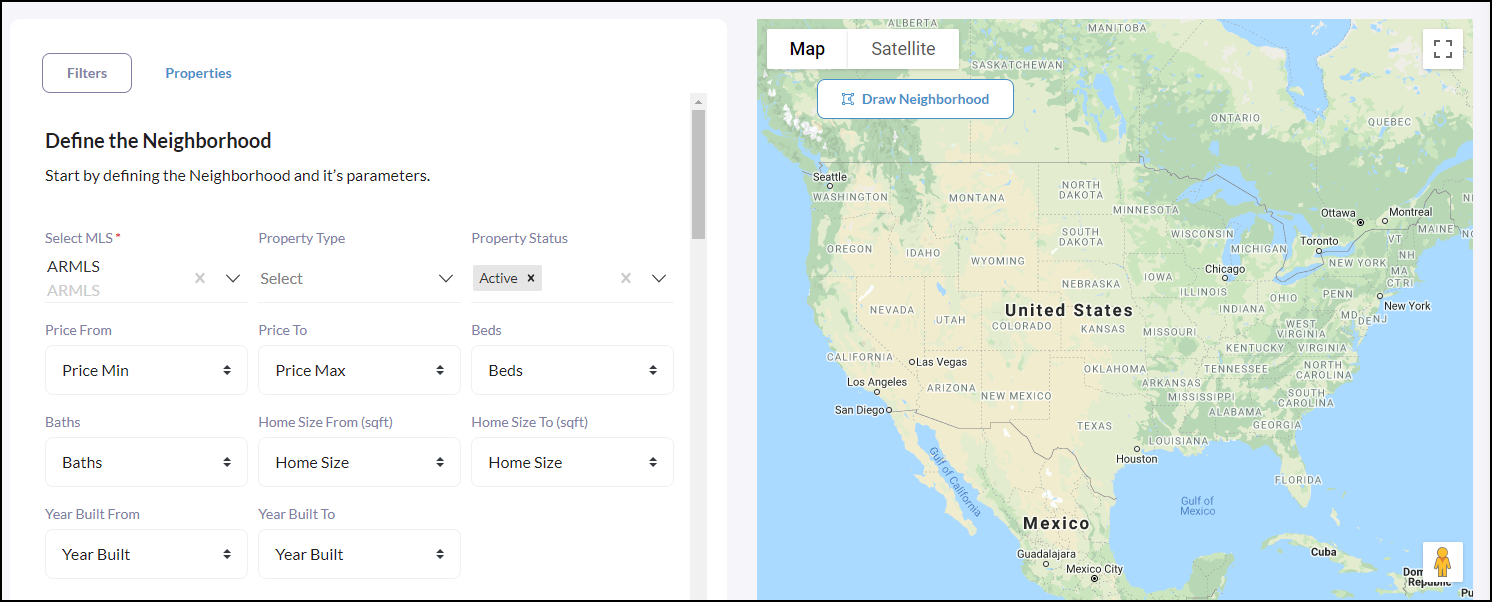
As you start defining your neighborhood you will notice that the map will adjust showing the blue pushpins of listings match these filtered requirements.
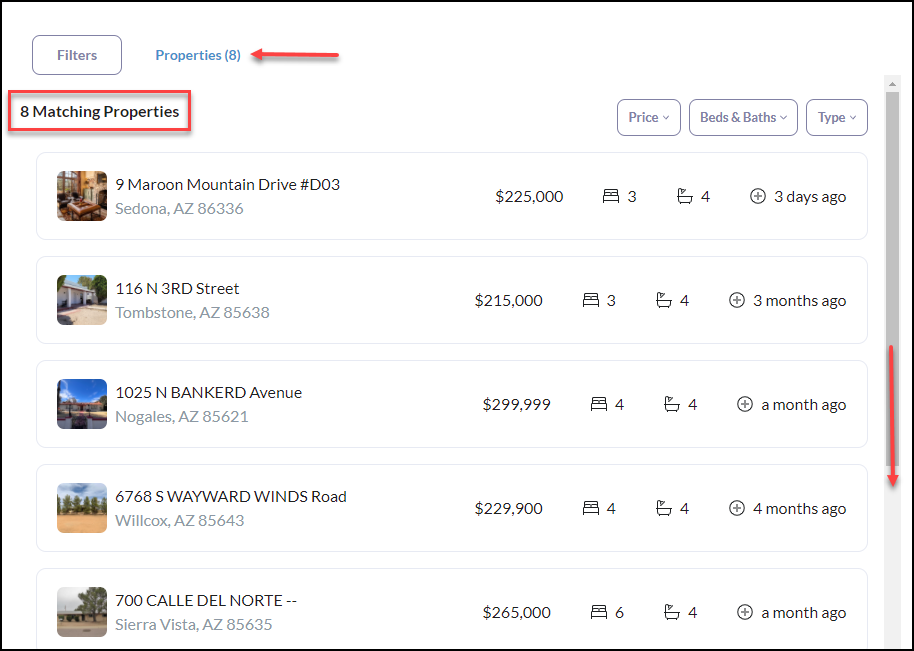
Another thing to look at is the 'Properties' count will continue to update.
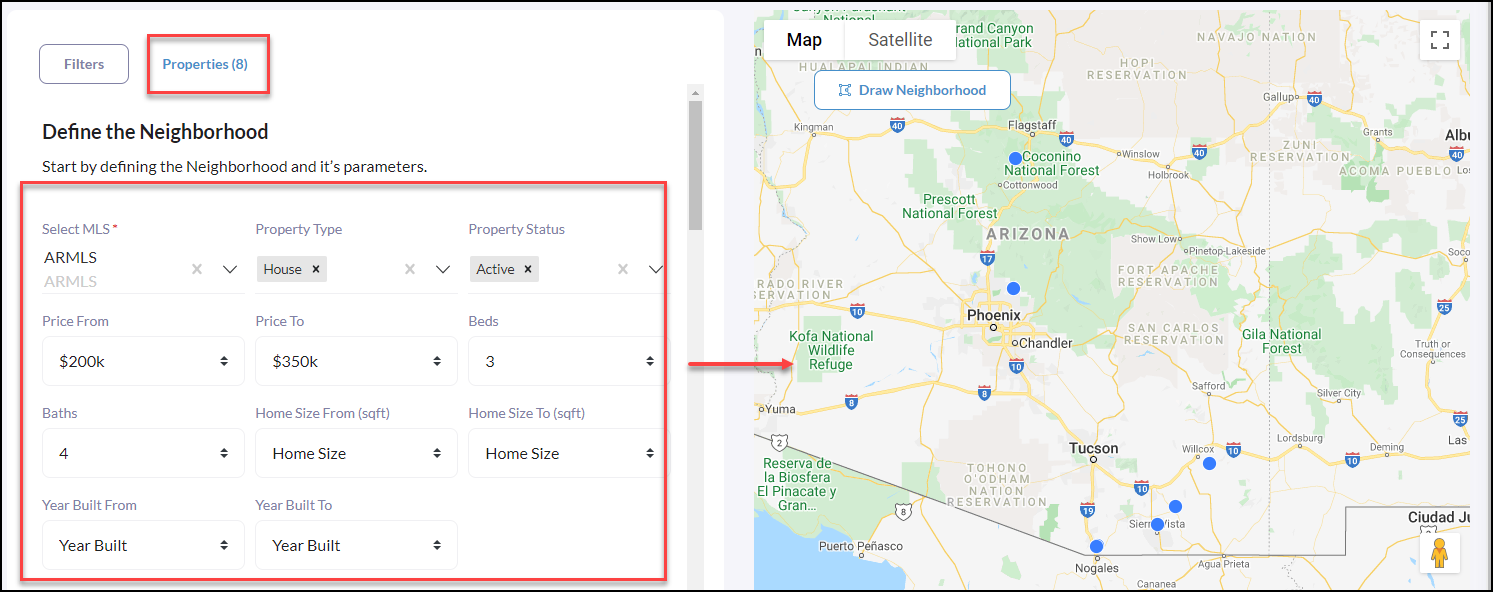
When you click on 'Properties' you can scroll through the Matching Properties.
Once you have created Neighborhood Alerts they will appear in a list that can be filtered by All, Active, Inactive.
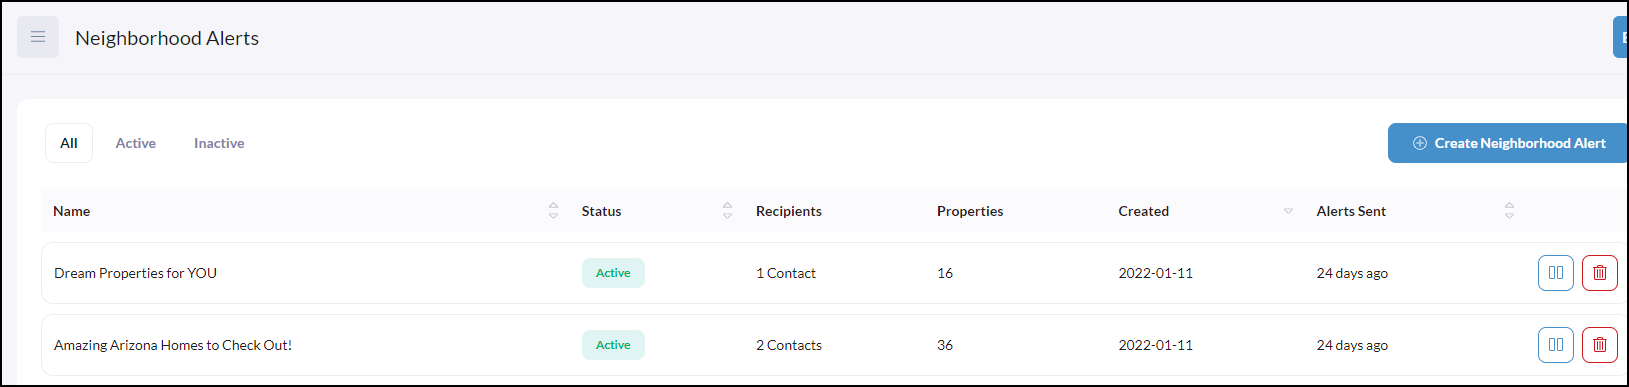
To edit a Neighborhood Alert, simply click on the name of the alert you wish to edit.
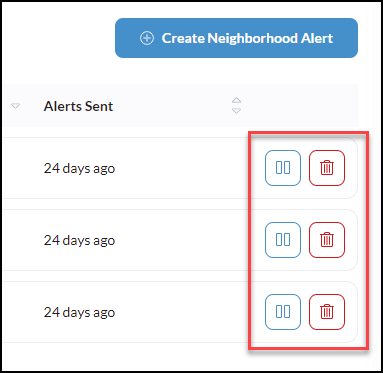
To Pause or Delete a Neighborhood Alert click the pause icon>pause or trashcan icon>delete
Create a Neighborhood Alert from a Contact
Click Contacts from the iA menu
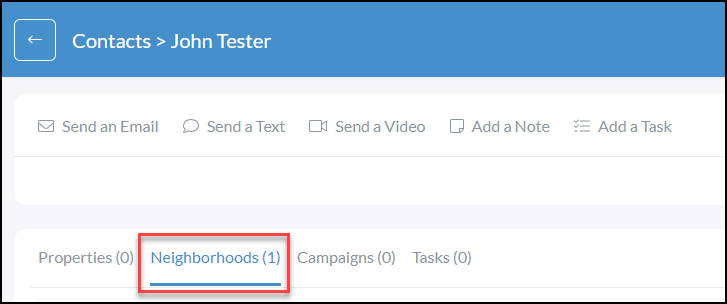
From your contact, scroll down to locate the Neighborhoods tab

If you are on a contact you'll be able to click Recommend Neighborhood which will bring you directly into the Marketing > Neighborhood Alert Module.
